
Rover Team 1
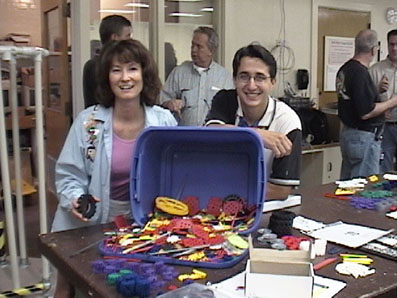
Bonnie Walters and Johnny Hamilton
 Teams
1 and 2 worked with K'NEX. The |
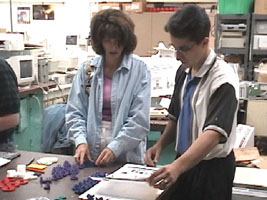
 The
chassis was built first and each of us |
 |
 Next,
we attached the servos, gears and |
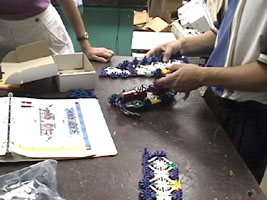
Once the body of the rover was finished, we went back to the bucket to count the pieces required to put together the camera base. Fewer pieces made for a quicker assembly and voila! A camera base! Pop on the camera and touch sensor and here is the finished product!
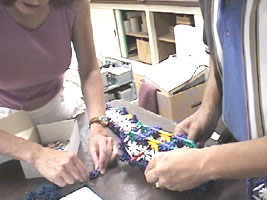
The finishing touch was adding the command module and batteries. We couldn't Velcro the module to the rover as it would be hard to remove so we had to problem solve. Four long rods, a couple of orange snaps and the temporary holder worked perfectly. Motors and the camera system were then connected to the module. Here was the moment we were waiting for. Contact! And it works beautifully!
| Home | Contact Us | Credits | Sitemap |
© 2002 - www.imagiverse.org

